Publishing the locally created application to Infinityfree
The choise of Infinityfree for this demo is determined by
a non exhaustive research of free PHP hosting solutions.
There are probably many equivalent or better alternatives
that offer for free the same or more features.
It should be stressed out that the free plan of Infinityfree
is not the best solution for a production environment, while
it is more than enough for testin purposes.
Create account
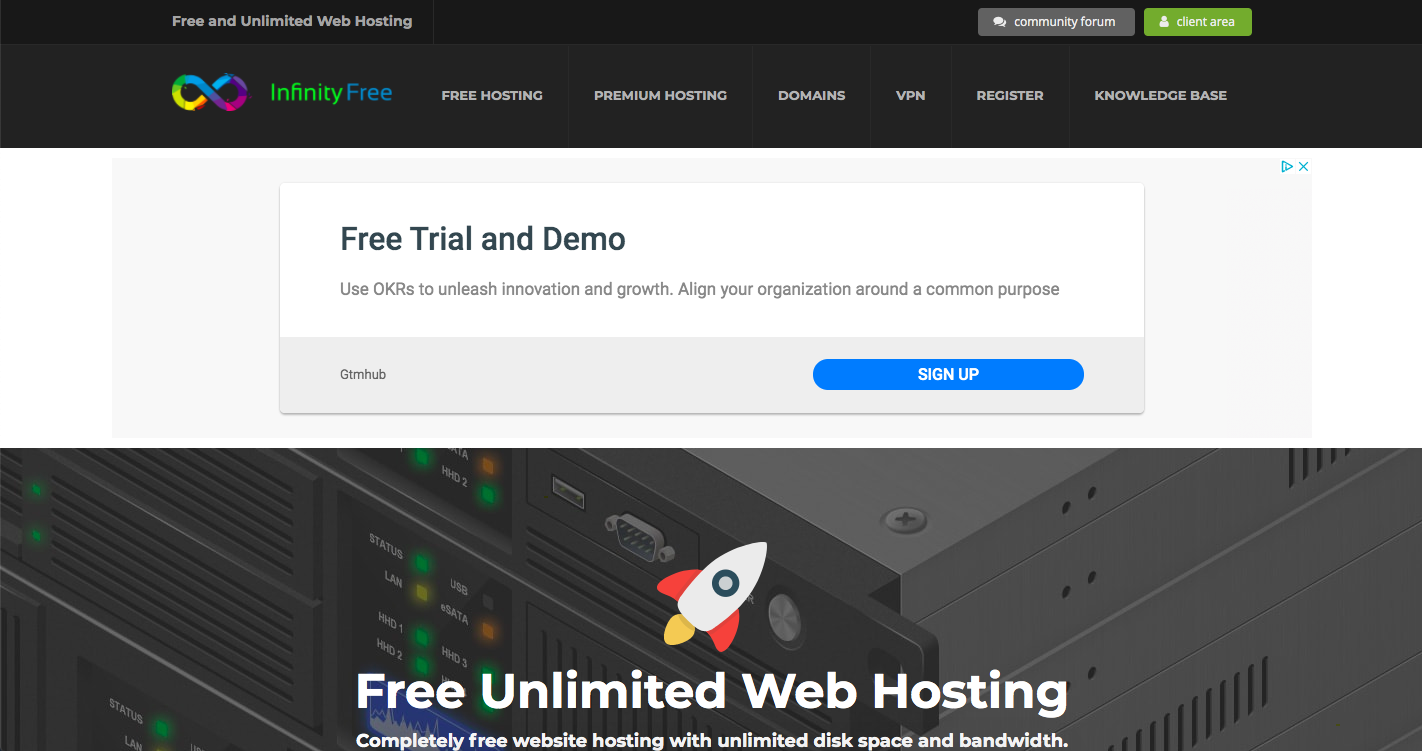
1.1. In Infinityfree home page, click in the upper part,
on the right Client area
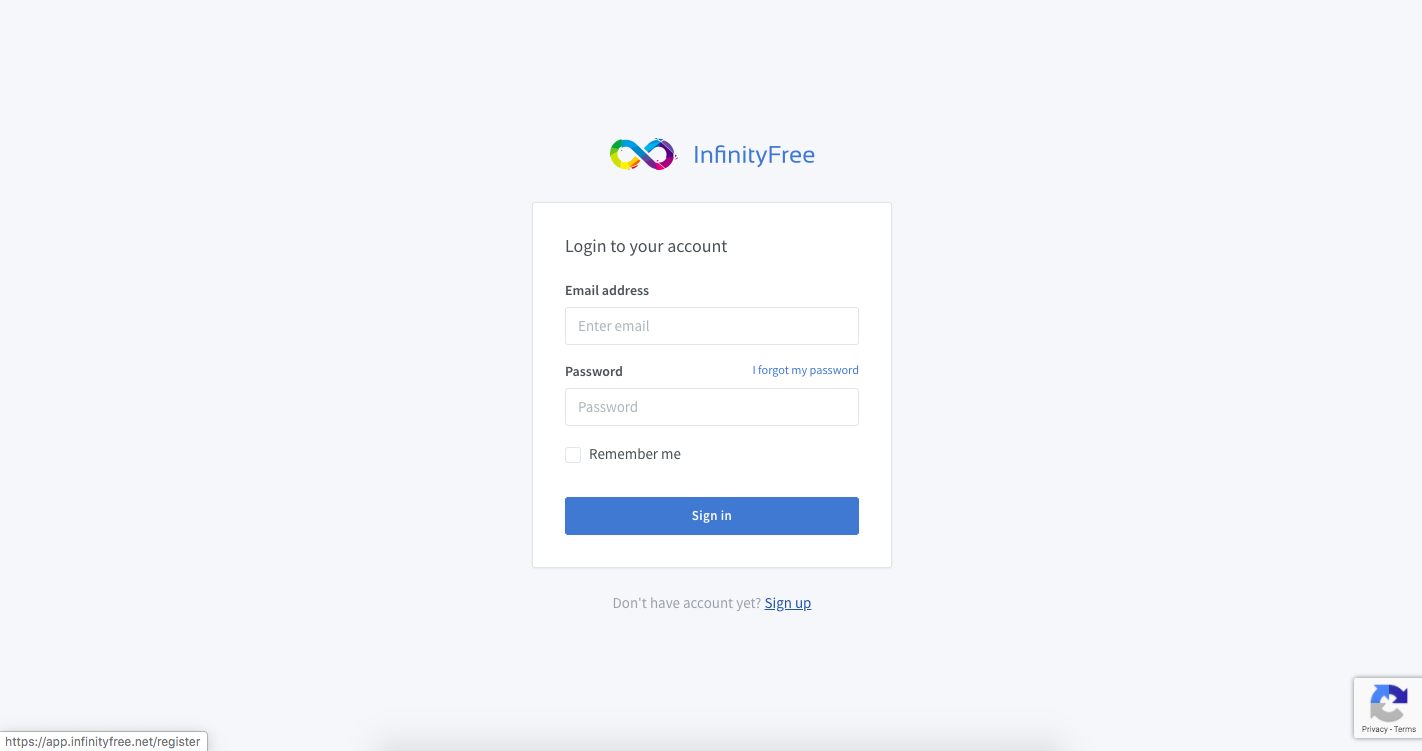
1.2. In the login page, if no account has been created yet, click on Sign up
1.3. In the registration page, enter your data, confirm the Captcha and create the account.
A confirmation will be sent to the enterd email address.

Create the service
In order to upload an application it is necessary to
create and activate a service.
The free account can host up to three free services.
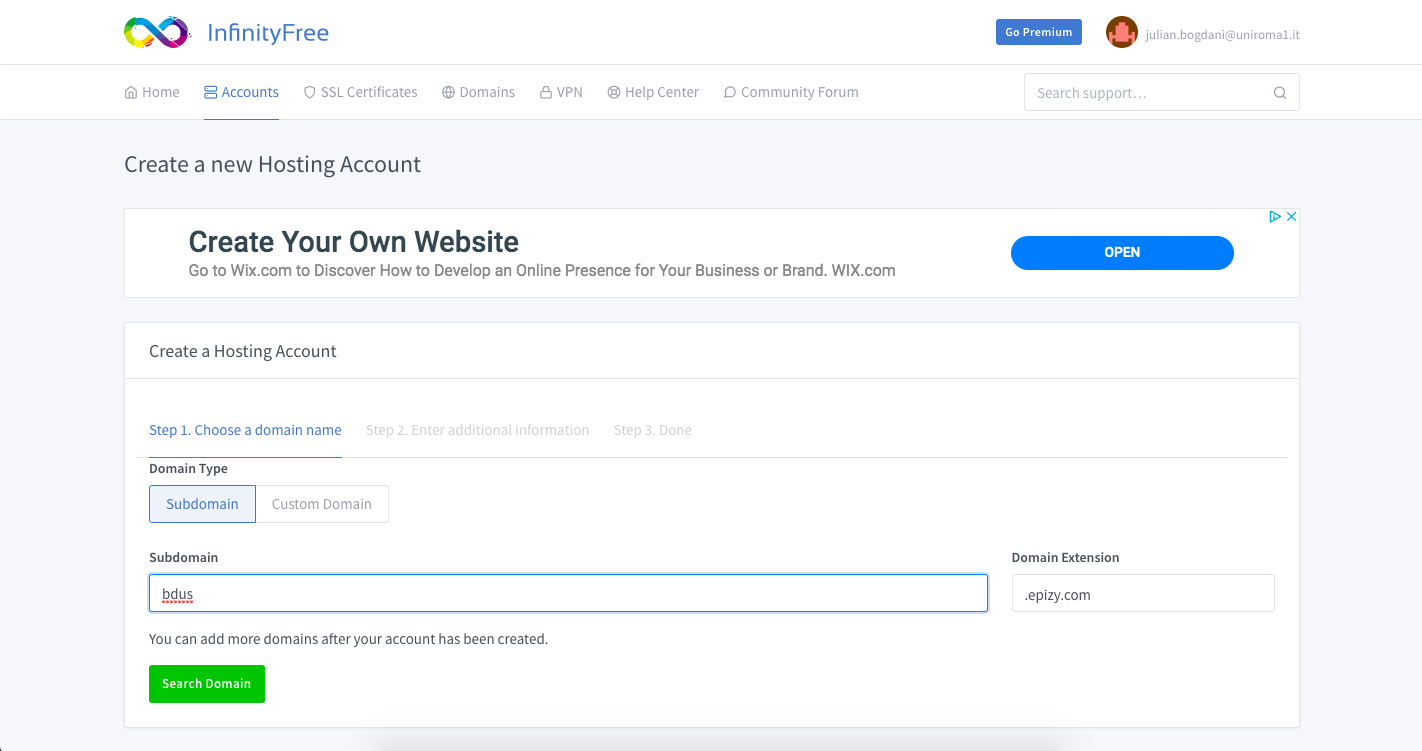
2.1. Once logged in, in the Accounts tab, click on Create account

2.2. Insert the third-level domain of your choise in the field Subdomain.
This is the web address whete the application will be published.
The first and second level domain can not be customized in the free version.
You can chooese between epizy.com and rd.gd.
Clicking on Search Domain will launch a search to verify that the
subdomain is available.
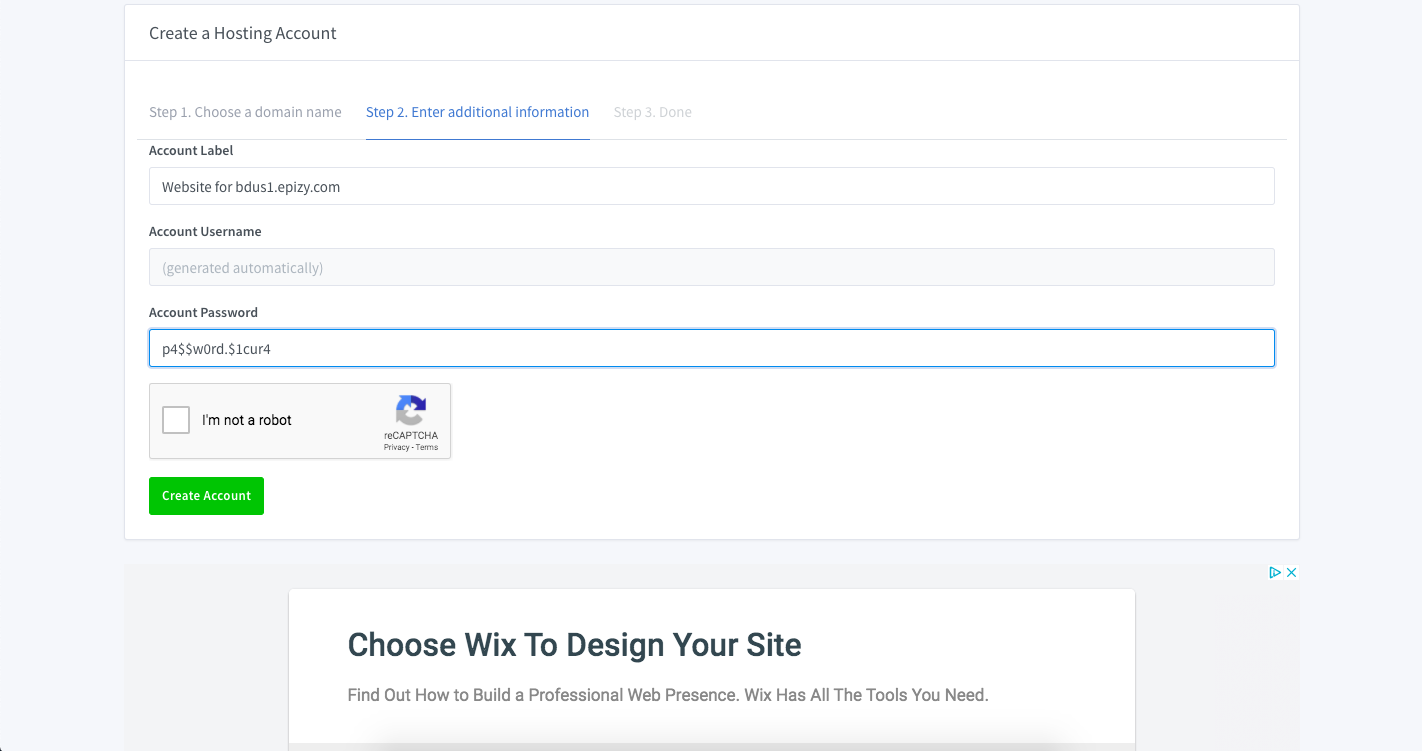
2.3. After, you will be asked for a descriptive label to add to the service (this is optional)
and a secure password that will be used for all the nex operations.
The username will be automatically generated.
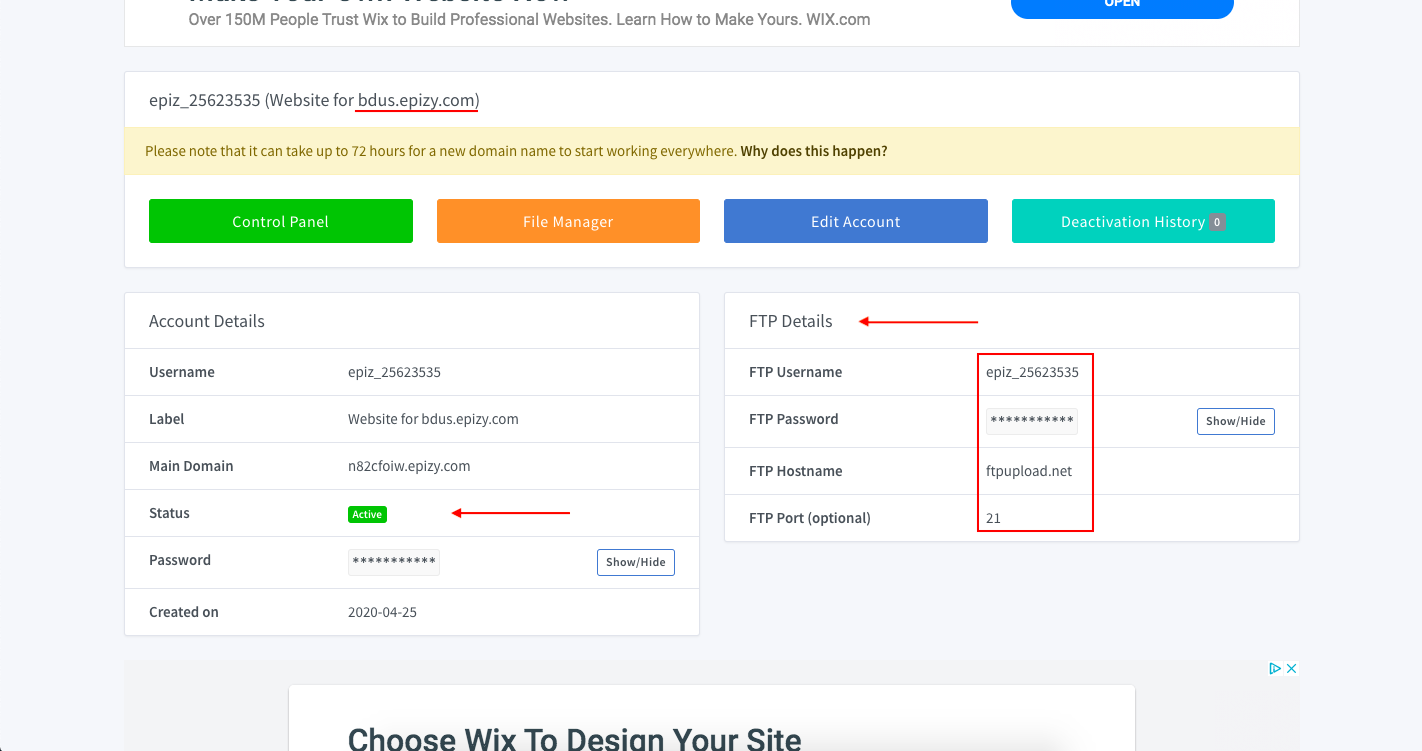
2.4. Once the service has been created, it will take some time before
it is available on the Web. It can take up tu 72 hours before it can be
reached at the provided address (reported in the upper part of the page).
In the left page is reported the application status. When it is Active
it means that we can go ahead and publish our application. We will also
be alerted by an email message when the service is on and ready.
In the right part of the page are located the necessary information
for the FTP connection and the file upload. We will use
FileZilla for this.
The paswoord is hidden and you should clink on Show/Hide
to visualize it.
We can upload our application, while qe are waiting for the
DNS propagation.
Upload the files
FileZilla is one of the most well-known softwares for the FTP protocol. It is open-sourced and available for Windows, MacOS e many Linux distros.
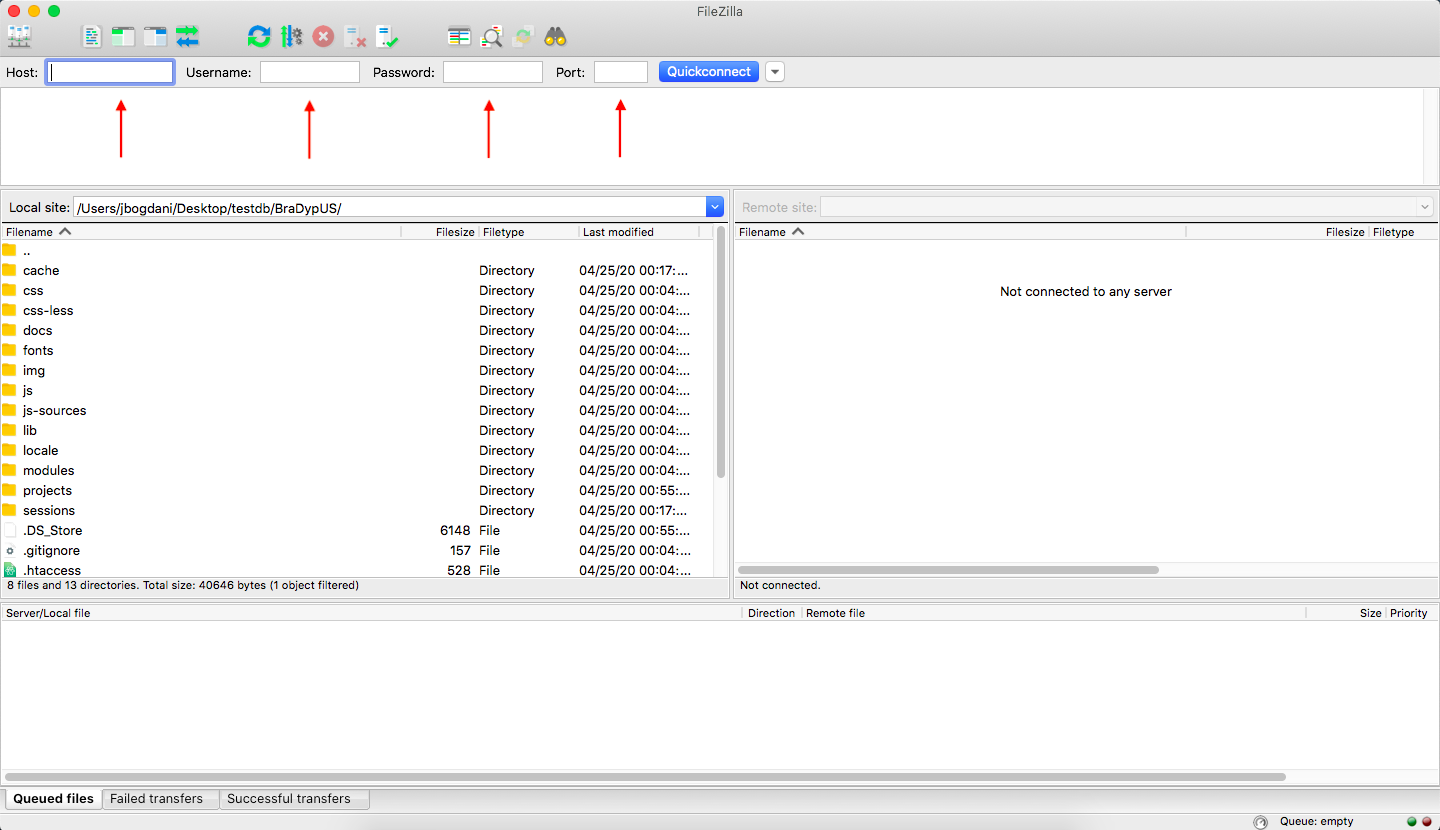
To connect to a remore server, we need few information:
- The hostname
- A username
- A password
- eventually the port number, if different frm the default 21.
3.1. We enter these information in the upper part of the application window
and click on Quick connect.
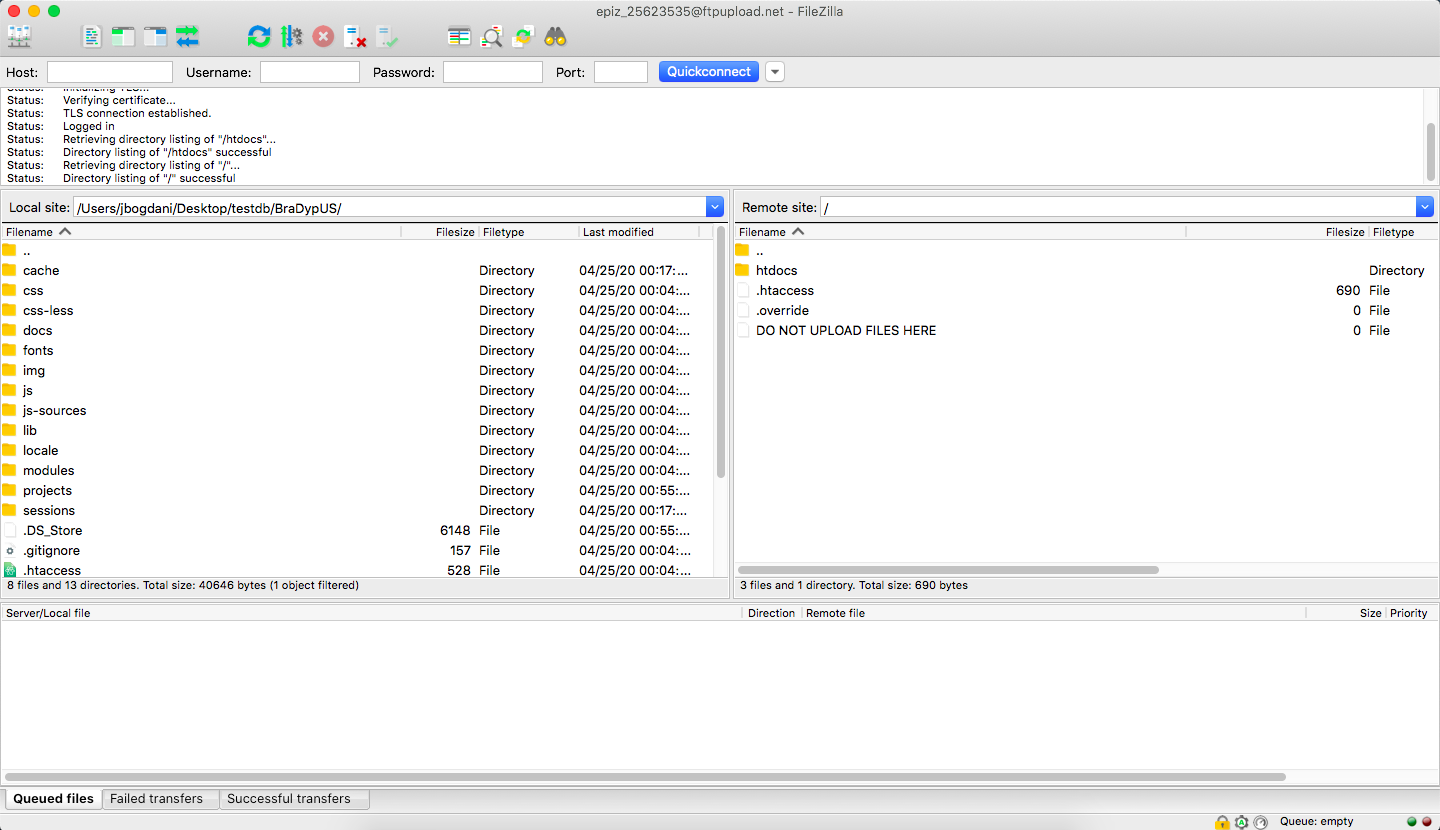
3.2. After few seconds we should be connected and we should be able to see
in the right part of the application window the content of the remote server,
and in the left the local one.
Browse your file system on the felft and reach the BraDypUS directory.
On the right open the htdocs directory, that in many systems is
the default name of the web publised path.
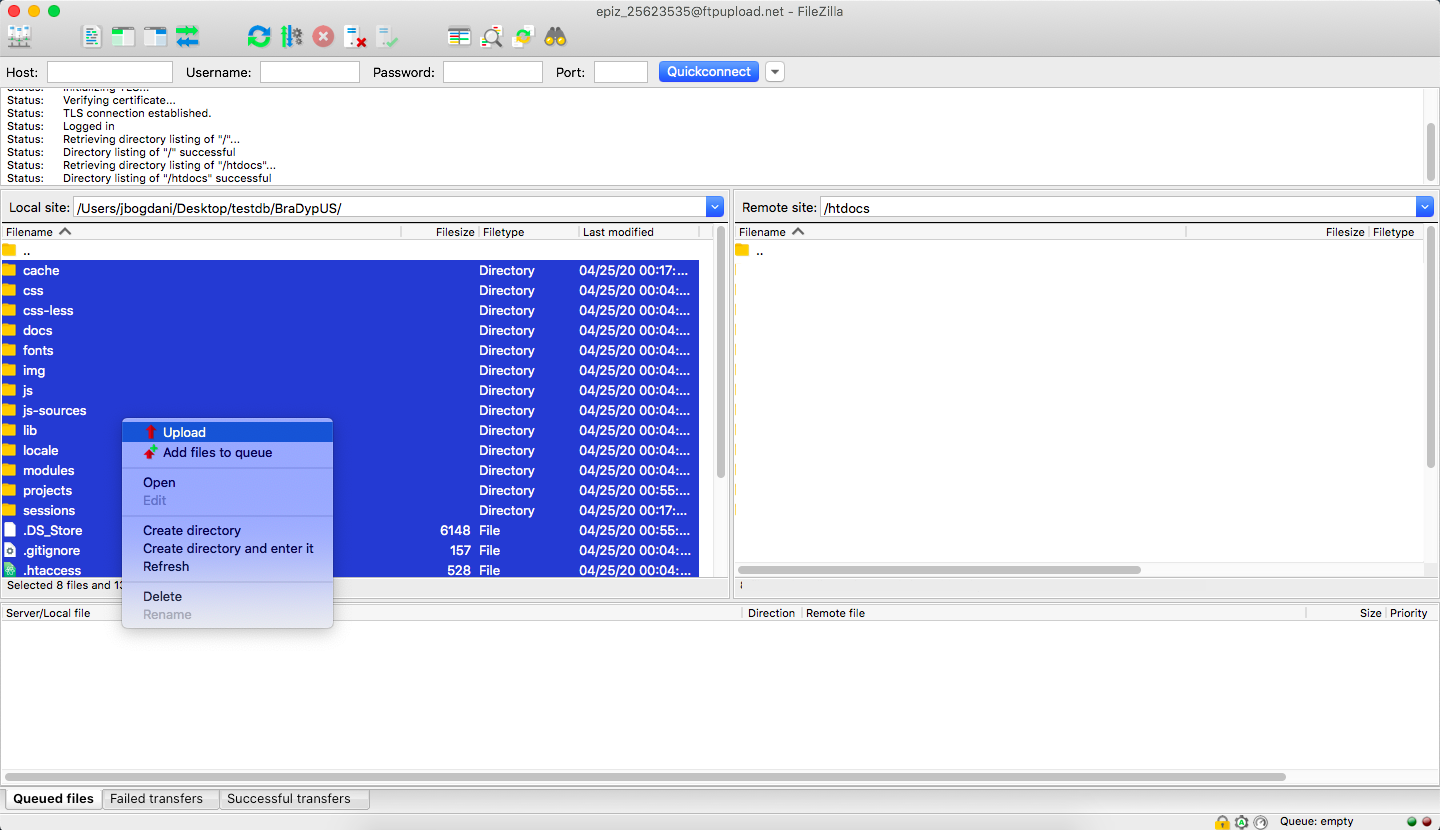
3.3. Select all file and folders on the left, right click and select Upload.
The upload proccess will start, and depending on the connectionn speed will take
a minitute or more to complete.
In the lower part of the screen it will be possible to follow
the upload queue and progress.
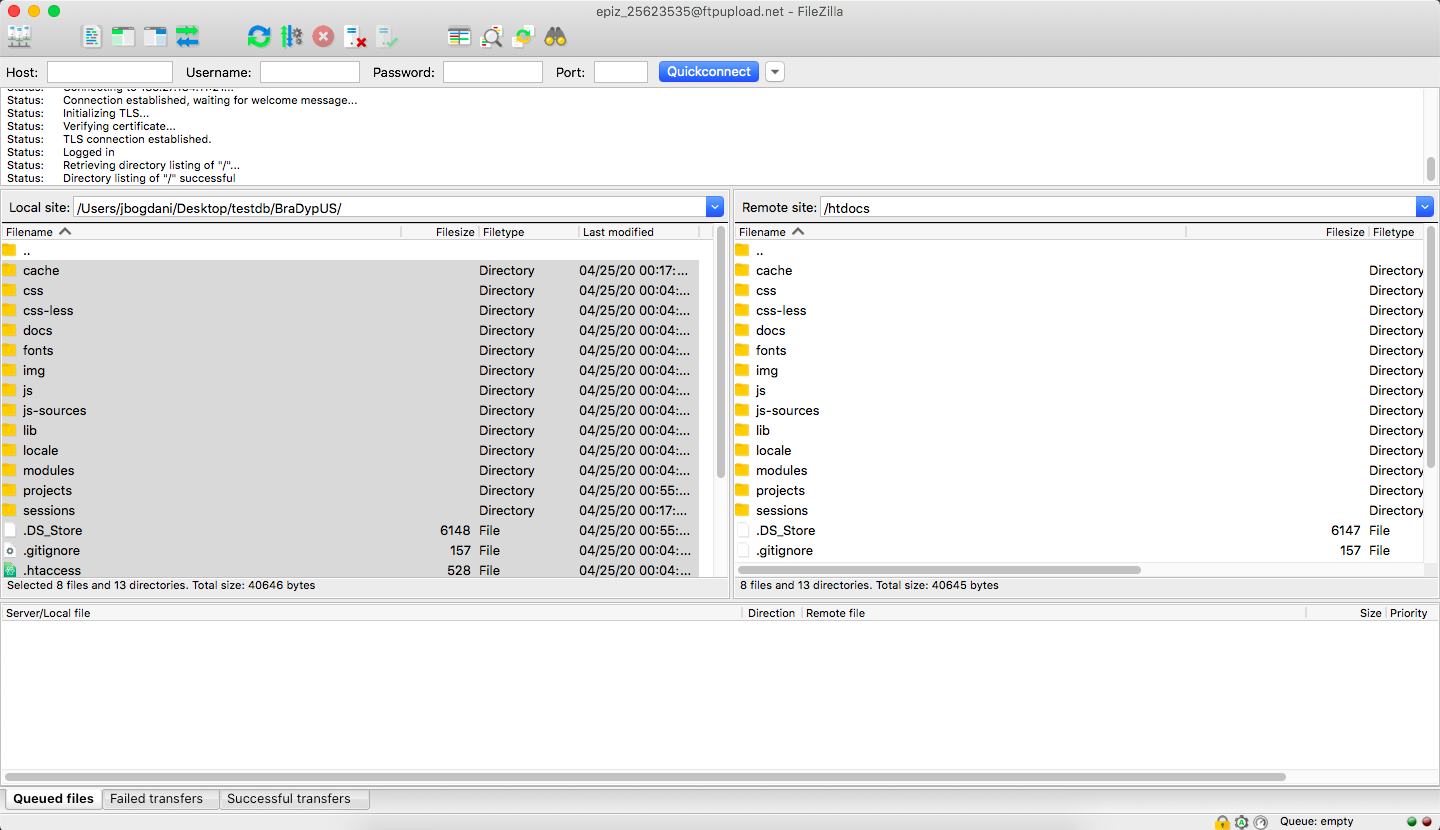
3.4. When the queue is finisged, the upload process is complete,
and both sides of the screen should show the same content.
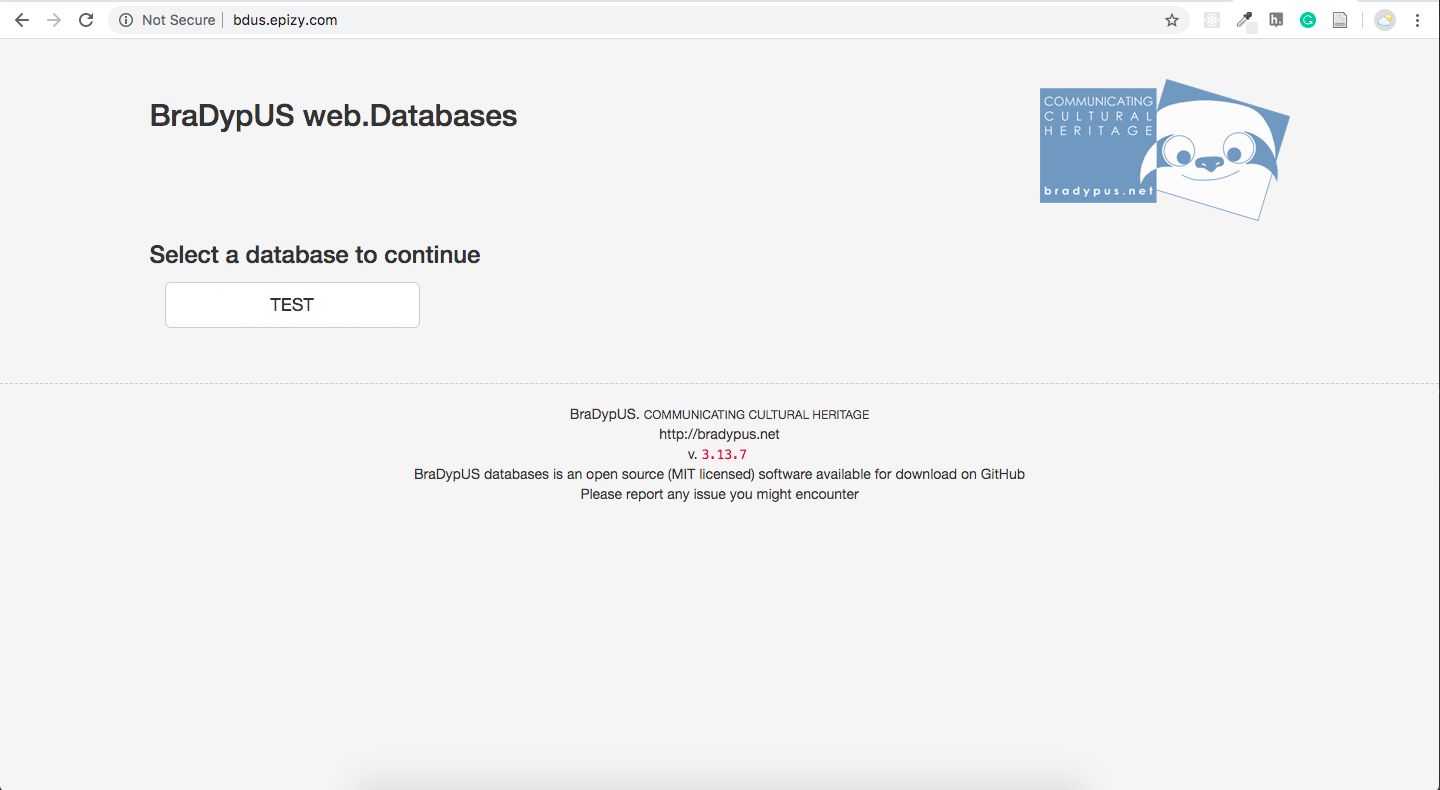
3.5. When the DNS propagation has ended, we will find in the choosen web address
our working application. Log in and enjoy!
